First time sequence data from ISS
We think that the samples we are looking at in the current run (the fourth) on ISS with ACE-M2 are undergoing phase separation and gelation, based on ground studies and preliminary images from orbit. To understand how these samples evolve over time, we perform nominally the same procedure—collecting images from the same positions, magnifications, depths, at similar settings—each day we run the experiment. In principle, then the images from successive days should have the same (or at least very close) brightness and contrast, and should overlay on top of each other exactly. To see whether this is happening in practice, here is the raw sequence of 10x composite images of sample 22 (platter 2105, strip B618, well 4) taken on days 2, 3, 5, 8, 11 and 15:
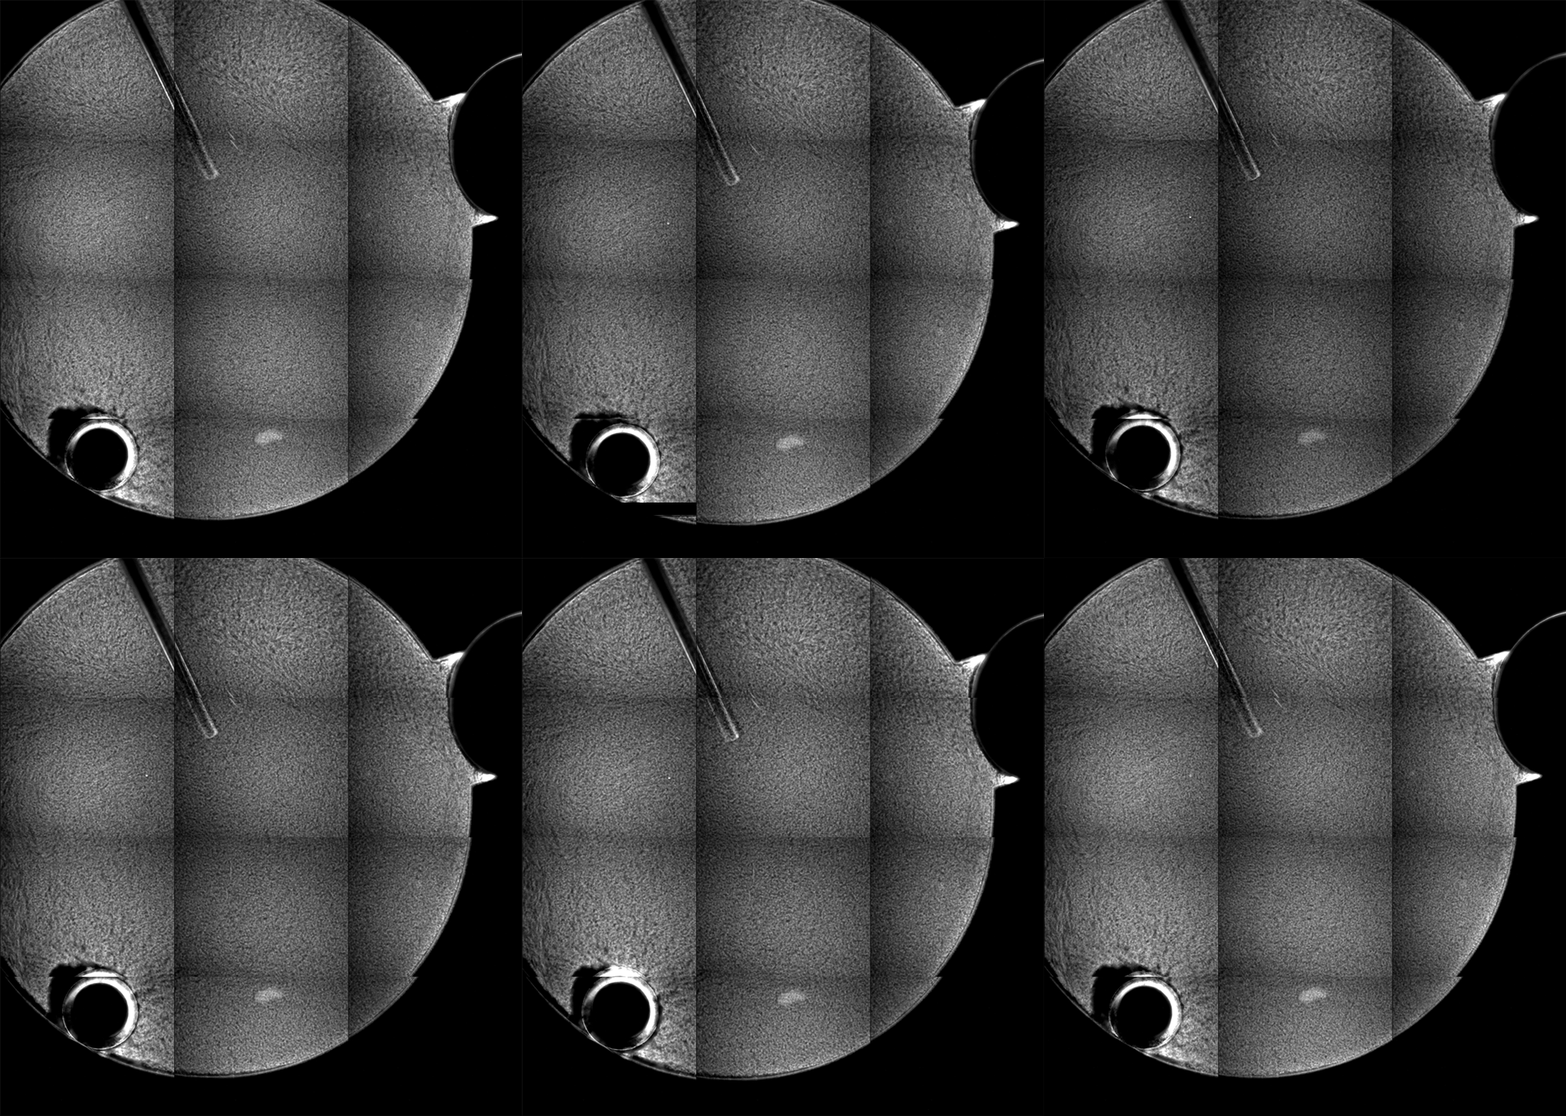
The position shifts slightly, and the brightness changes. Clearly, the images are not exactly aligned, and the motion distracts from being able to watch any evolution in the sample, as well as interfering with any automated analysis.
Pre-processing image data
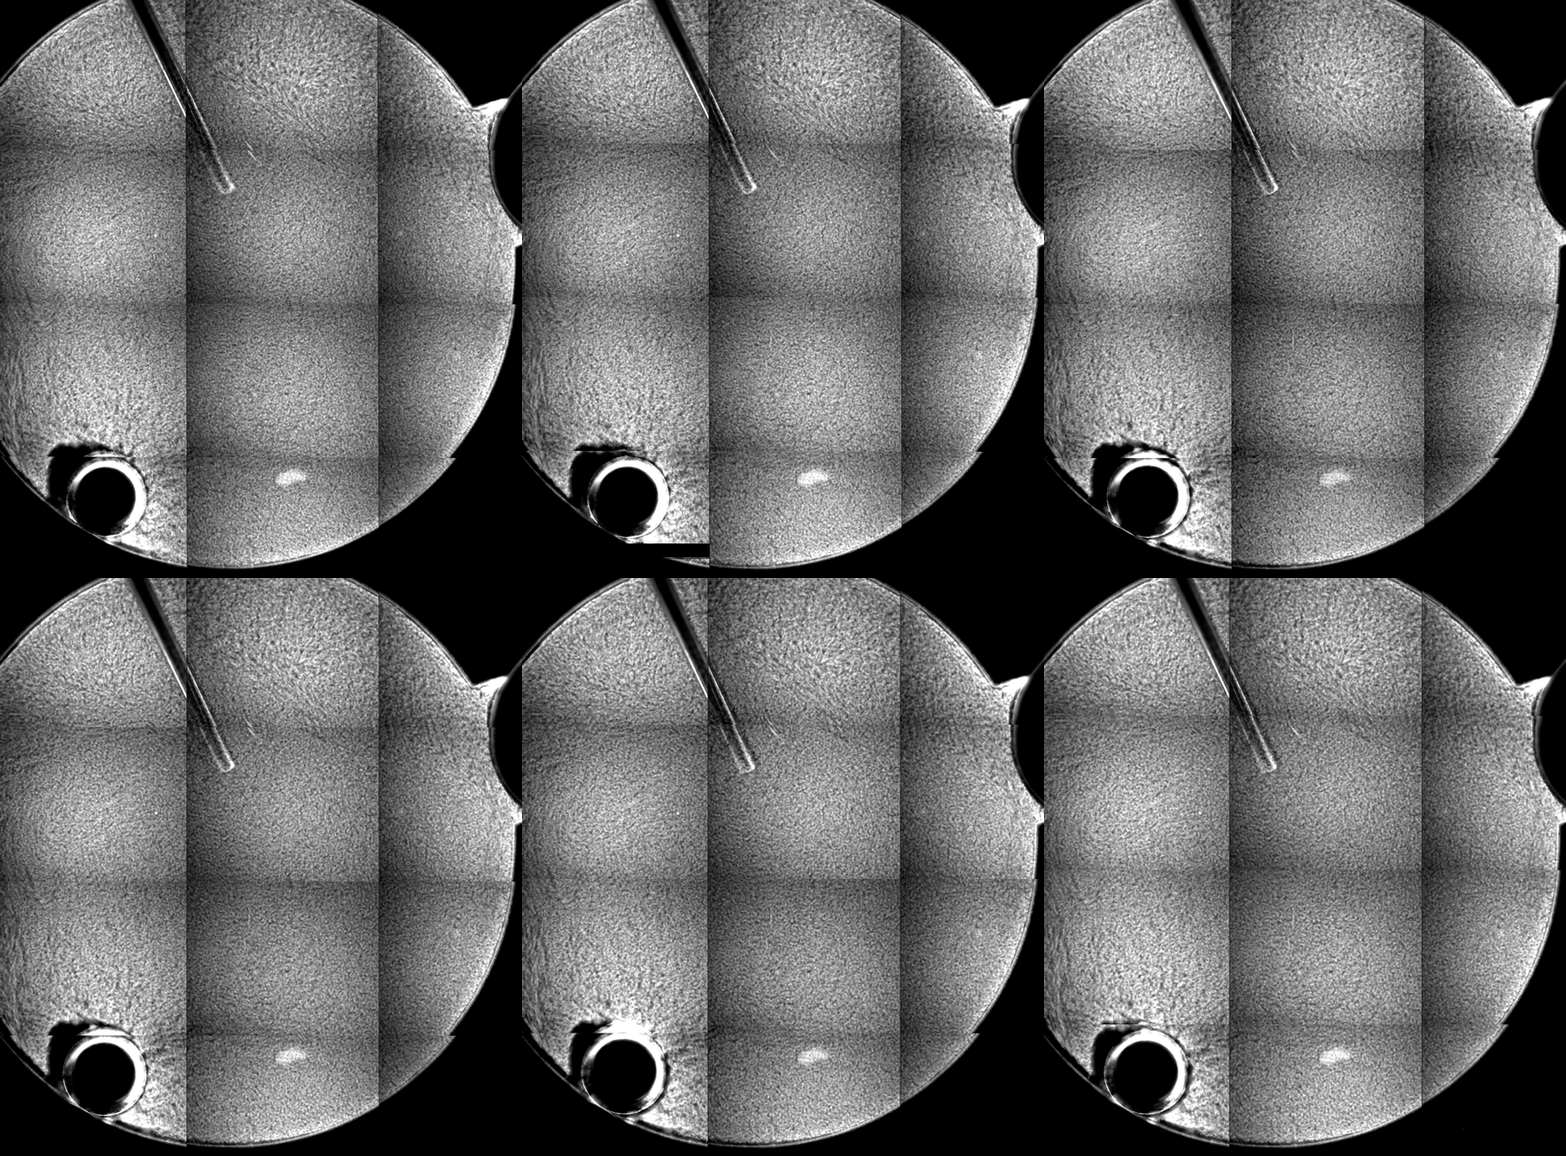
To fix these issues, I will align the images within the time sequence, and match their brightnesses so that the intensity doesn’t change so dramatically.
Aligning the images
The first major task is to align the images from subsequent days of data collection. I first rename the files, then in Photoshop CS6 import the set of images into separate layers in a composite image, with File > Scripts > Load Files into Stack..., enabling the option to Attempt to Automatically Align Source Images. This works pretty well for these images, where the overall shape of the well can guide the alignment algorithm.
This process is not fast, taking several seconds per image, but for just a handful of images, it works well enough. By contrast, for BCAT, where we have hundreds of frames, I create an image sequence movie in Adobe After Effects, and use the tracking features there to far more quickly do the alignment.
I then crop the images so that there are no blank borders, and save the file as a mult-layer .psd file.
Matching intensities
For color images, the Photoshop feature Match Color... is very good and extremely helpful. In our case, however, grayscale images do not have the same feature, and the option is unavailable. Instead, using a combination of Levels and ```Curves, I adjust each image to have the same mean (a little over 100 in 8-bit grayscale values) and standard deviation (about 60 8-bit grayscale levels).
Building the animation
In the Timeline palette, I Create Frame Animation, then in the drop-down menu select Make Frames from Layers. The great thing about this feature is that it otherwise doesn’t affect anything about the image or its layers. The final step is to export to an animated .gif file, using the Save for Web... dialog box. There I reduce to final web resolution, and create the final file:
Higher magnification
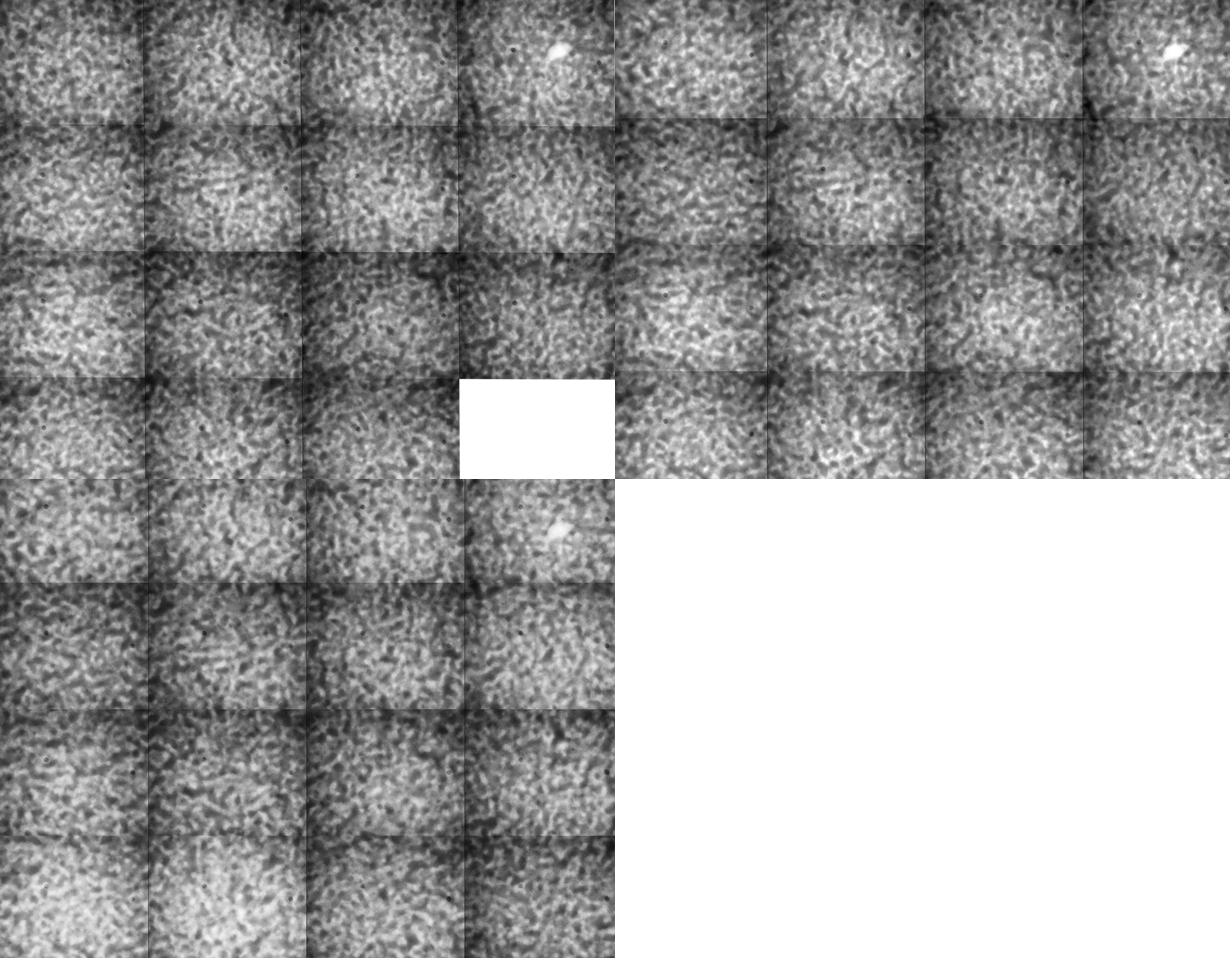
I apply the same procedure to the higher-magnification 40x composite. First, the raw data (just resized):
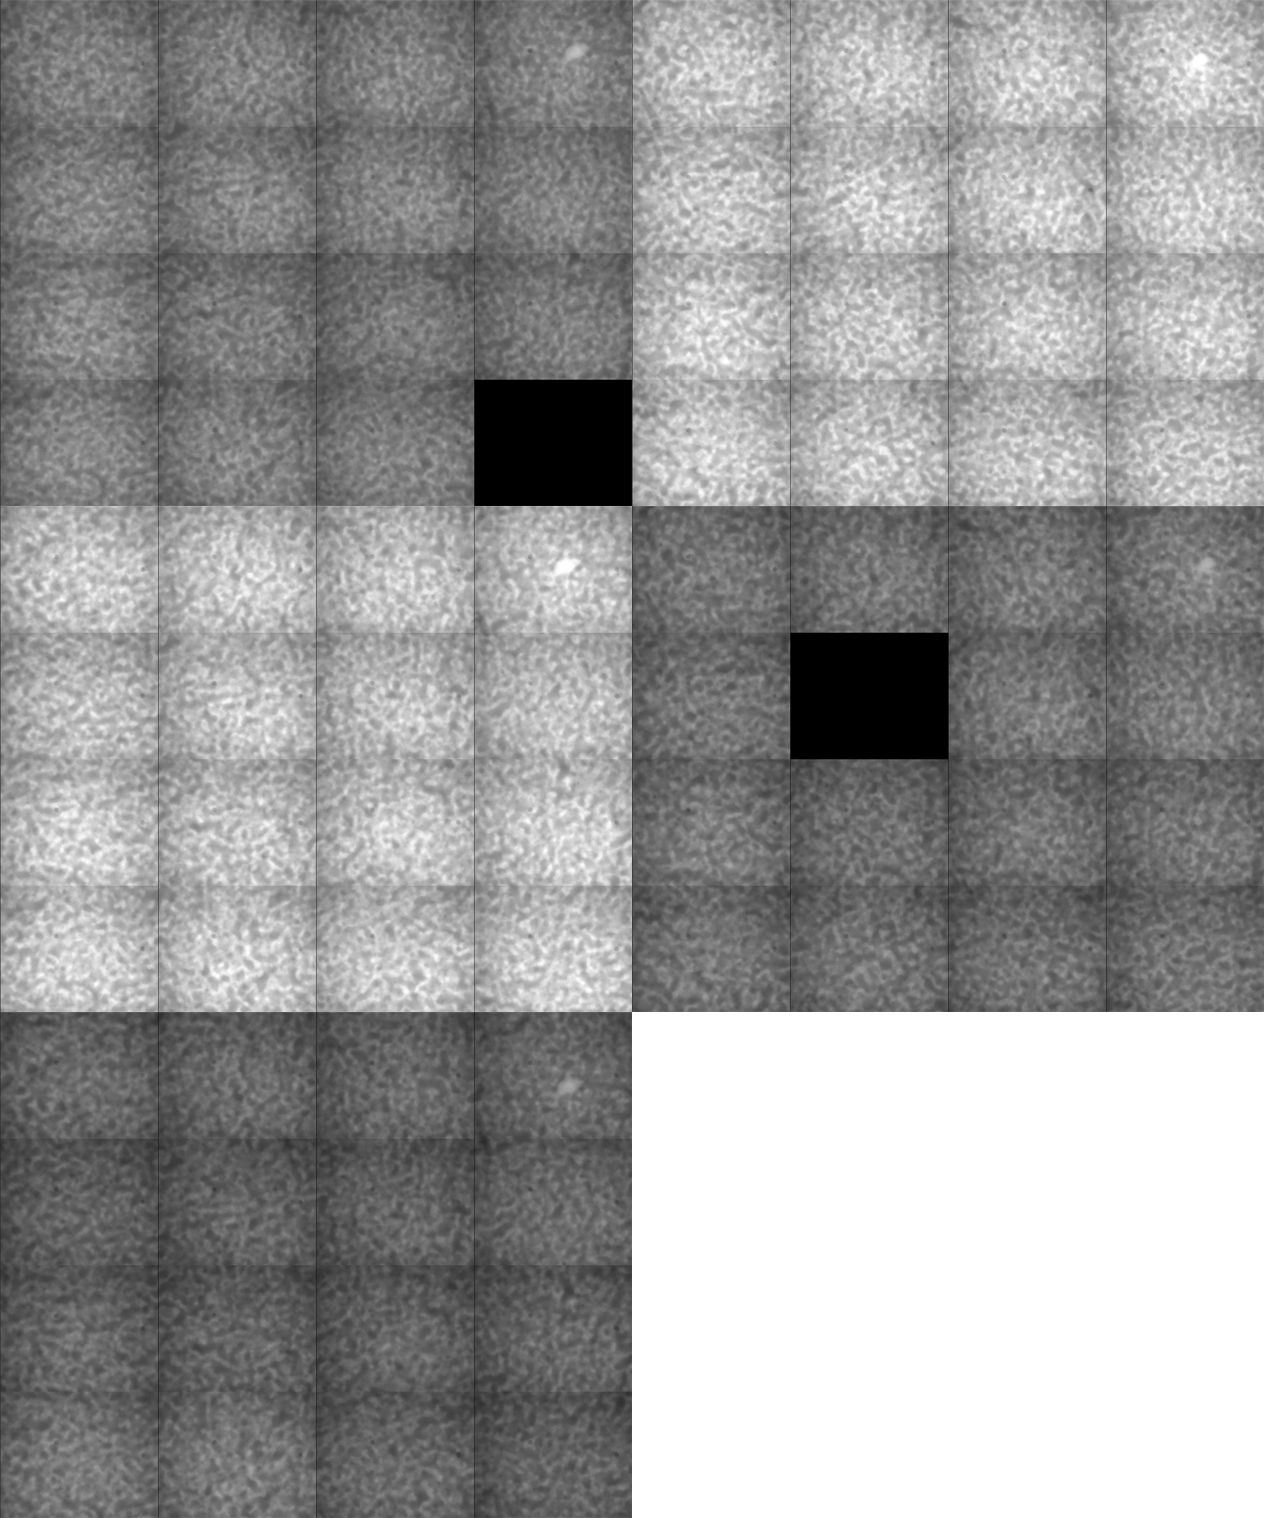
And then the corrected version, where the aligned images have a mean of 128 and standard deviation of 40 8-bit grayscale levels:
Stage reproducibility or drift?
Several things are apparent from these sequences. First, the stage is not perfectly reproducible from a mechanical standpoint. The composites seem to move around a little bit, likely due to mechanical backlash in the stage. Second, intensities are not constant from day to day.